
Connecting Your KOVE 0.5HP Chiller to Your Ice Bath
In this guide
- Before You Start
- Quick Installation Overview
- Step 1 – Fit the Ice Bath Adapters
- Step 2 – Install the 5-inch Particle Filter
- Step 3 – Install the Hair Net Filter
- Step 4 – Connect Hose One
- Step 5 – Connect Hose Two
- Step 6 – Fill the Ice Bath
- Step 7 – Start the Chiller and Set the Temperature
- Removing an Air Lock
- Before Your First Cold Plunge
- Positioning Your Chiller
- Understanding the Control Panel
- Recommended Temperature
- Wi-Fi Setup
- Maintenance
- Winter Storage
- Troubleshooting
- Can I Leave My Chiller Outside?
- Safety
- Australian Installation Notes
- Need Help?
The KOVE Core 0.5HP chiller is designed to be straightforward to set up at home. This guide walks you through connecting it to your ice bath, step by step.
Setting up your KOVE chiller usually takes around 10 minutes. Please follow the steps below carefully before switching the unit on.
Important: Never operate the chiller unless water is flowing through the system.
Before You Start
Inside the box you should have:
- KOVE chiller
- 2 × water hoses
- Hair net filter / small filter housing
- 5-inch particle filter / large filter housing
- Silver directional adapter
- PTFE thread tape
- Rubber O-rings
- Adapters
- Quick connectors
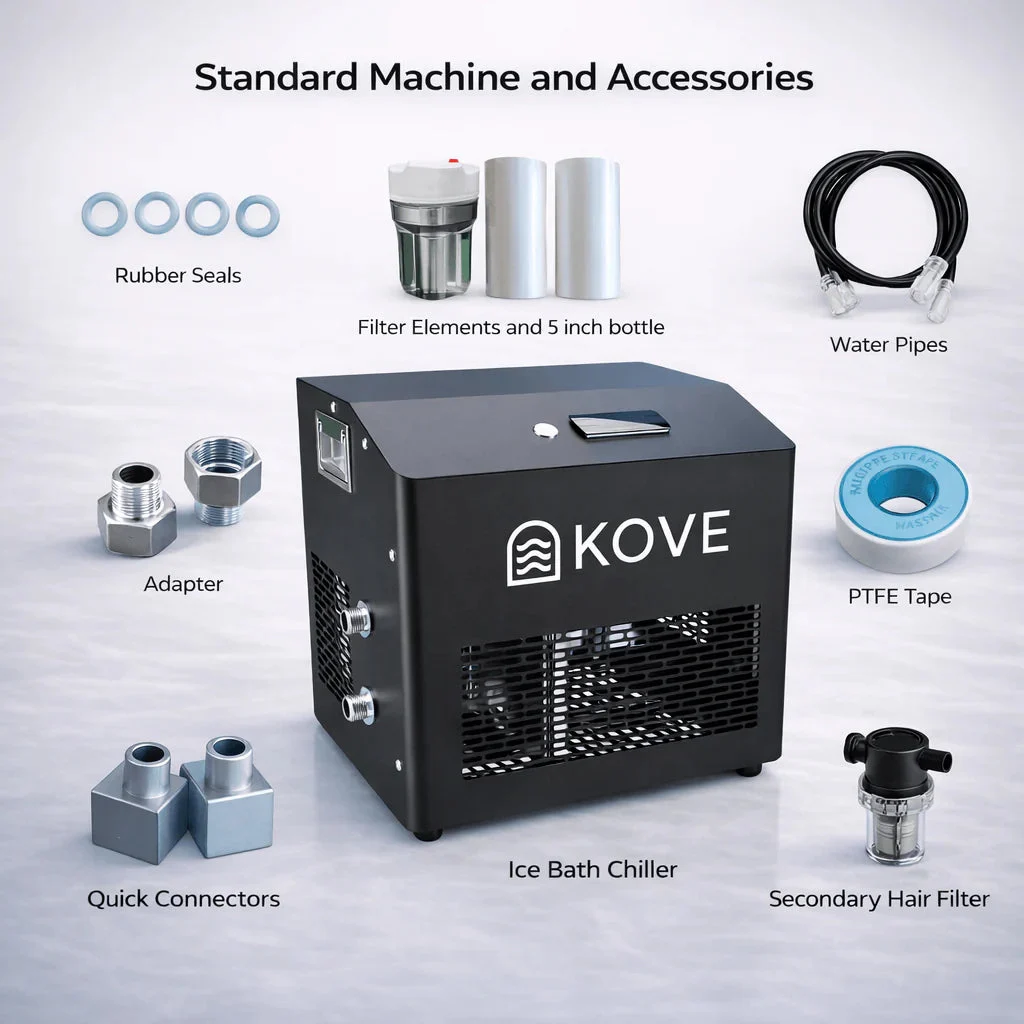
If you are connecting the chiller to a KOVE ice bath, you will also need the two adapters supplied in the orange accessories tub that came with your ice bath.
If you are not using a KOVE ice bath, additional adapters may be required depending on your setup.
If anything is missing, please contact us before beginning installation.
Quick Installation Overview
Your completed water flow should be:
Ice Bath Outlet → Hair Net Filter → Chiller → 5-inch Particle Filter → Ice Bath Inlet
We recommend referring to the plumbing diagram alongside these instructions.
Step 1 – Fit the Ice Bath Adapters
If you are using a KOVE ice bath, take the two adapters supplied in the orange accessories tub.
- Insert one adapter into the ice bath inlet valve.
- Insert the other adapter into the ice bath outlet valve.
If you are not using a KOVE ice bath, use the appropriate adapters for your own ice bath or plunge setup.
Step 2 – Install the 5-inch Particle Filter
Screw the 5-inch particle filter, which is the larger of the two filter housings, onto the ice bath inlet valve.
Next, screw the silver directional adapter into the opposite side of the filter housing.
Important
- The filter can be mounted vertically or horizontally.
- Do not install the filter upside down.
- There is an arrow on the silver adapter showing the direction of water flow.
- The arrow must point towards the ice bath.
- You can use spare washers to adjust the final position of the filter if required.
Step 3 – Install the Hair Net Filter
Screw the hair net filter, which is the smaller filter housing, onto the water inlet of the chiller.
Important
- The filter can be mounted vertically or horizontally.
- Do not install the filter upside down.
- It may be easier to install the filter head first, then screw the bottle section on afterwards.
Step 4 – Connect Hose One
Connect the first hose between:
Ice Bath Outlet → Hair Net Filter / Chiller Inlet
Step 5 – Connect Hose Two
Connect the second hose between:
Chiller Outlet → 5-inch Particle Filter → Ice Bath Inlet
Your completed water flow should now be:
Ice Bath Outlet → Hair Net Filter → Chiller → 5-inch Particle Filter → Ice Bath Inlet
Step 6 – Fill the Ice Bath
Fill your ice bath until both the inlet and outlet valves are completely submerged.
Never run the chiller unless both valves are submerged and water is able to circulate freely through the system.
Step 7 – Start the Chiller and Set the Temperature
- Plug the chiller into a standard Australian power point. If it is outdoors, use a weatherproof, RCD-protected outlet.
- Switch the unit on.
- Check that water is flowing freely through both filter housings.
- Use the up and down buttons to select your target temperature.
- Once the desired temperature is displayed, leave the controls for a few seconds. The temperature will then set automatically.
The compressor includes a built-in protection delay, so cooling may not begin immediately after switching the unit on.
Removing an Air Lock
If the pump is running but water is not circulating properly, an air lock is the most likely cause. This is the most common issue during initial setup and is usually resolved within a few seconds.
To remove an air lock:
- Leave the pump running.
- Slightly loosen the hair net filter housing.
- Allow trapped air to escape.
- Once water flows continuously, tighten the filter housing again.
Before Your First Cold Plunge
Before using your ice bath, check the following:
- All hose connections are secure.
- Water is circulating freely.
- Both filters are installed correctly.
- Both ice bath valves are fully submerged.
- No leaks are present.
Once these checks are complete, you are ready to enjoy your KOVE cold plunge.
Positioning Your Chiller
Place your chiller:
- On a solid, level surface.
- Close to your ice bath.
- Outdoors or in a well-ventilated area.
- With at least 30cm of clearance around the cooling fans.
Never block the air vents or place the unit inside an enclosed cabinet.
Although the chiller is designed for outdoor use, we recommend placing it under light cover, such as beneath a bench or small shelter, to protect it from prolonged direct sunlight and extreme weather while maintaining good airflow.
Understanding the Control Panel
Your chiller allows you to:
- Power the unit on and off.
- Set your target water temperature.
- View the current water temperature.
- Connect to Wi-Fi, where applicable.
- View operating and fault indicators.
Please note that the compressor has a built-in protection delay. This means cooling may not start immediately after the unit is switched on.
Recommended Temperature
For most users, we recommend setting the chiller between 7°C and 10°C.
If you are new to cold water therapy, consider starting around 10°C to 12°C and gradually lowering the temperature over time.
Wi-Fi Setup
Your KOVE chiller can be connected to the Tuya Smart app for remote control, where applicable.
Before pairing:
- Ensure your phone is connected to a 2.4GHz Wi-Fi network.
- 5GHz Wi-Fi networks are not supported.
Follow the on-screen instructions within the Tuya Smart app. Your chiller should appear as an available device for pairing.
Maintenance
Every Use
- Check for leaks.
- Ensure water is circulating normally.
Weekly
- Remove and clean the hair net filter.
- Inspect all hose connections.
- Check that the particle filter remains clean.
Replacing the Particle Filter
Replace the particle filter whenever:
- Water flow becomes restricted.
- The filter becomes visibly dirty.
- The filter has reached the end of its service life.
Using a blocked filter can reduce cooling performance and place unnecessary strain on the pump.
Winter Storage
If storing your chiller over winter:
- Drain all water from the unit.
- Drain the hoses.
- Drain the internal pipework.
Never allow water to freeze inside the chiller.
Troubleshooting
E18 Error
An E18 fault is almost always caused by insufficient water flow.
Check for:
- An air lock.
- Dirty filters.
- Kinked hoses.
- Blocked pipework.
- Low water level.
Pump Running But No Water Flow
This is usually caused by an air lock. Follow the air lock removal procedure earlier in this guide.
Water Is Not Cooling
Check that:
- Cooling mode is active.
- Water is circulating properly.
- Both filters are clean.
- The target temperature has been set correctly.
- The ambient temperature is not affecting cooling performance.
The first cool-down from fresh tap water may take several hours, depending on the starting water temperature and ambient conditions.
Can I Leave My Chiller Outside?
Yes. Your KOVE chiller is designed for outdoor use.
We recommend providing some protection from prolonged direct sunlight and severe weather while ensuring the cooling fans always have unrestricted airflow.
Safety
- Always connect the chiller to a properly protected mains supply.
- Test the RCD before first use.
- Never operate the unit without water circulation.
- Never cover the cooling vents.
- Disconnect the power before carrying out maintenance.
- Keep children away from the unit unless supervised.
Australian Installation Notes
Plug the chiller directly into the power point rather than an extension lead or power board, and keep it shaded with clear airflow around the vents.
The Core 0.5HP suits smaller, shaded setups. If your plunge sits in full sun or you live somewhere with long hot summers, consider the Pro 1HP Heat & Cool chiller for more cooling headroom.
Need Help?
If you need any assistance with installation or operation, we are here to help.
Email: [email protected]
Phone: (03) 9070 5596
If contacting support, photos or a short video of your setup will often help us diagnose any issues much more quickly.
Planning your setup?
Our Australian team can help you choose the right equipment for your space, power supply and routine, and answer anything this guide didn't cover.
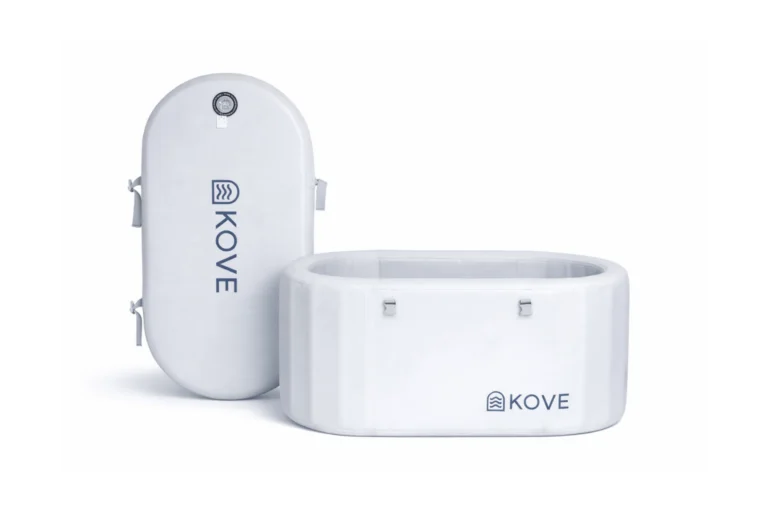
Best Ice Bath Australia (2026) | Cold Plunge Tubs Compared
Compare the best ice baths for Australian homes, from inflatable cold plunges to cedar tubs, plus which chiller you need for Australian…
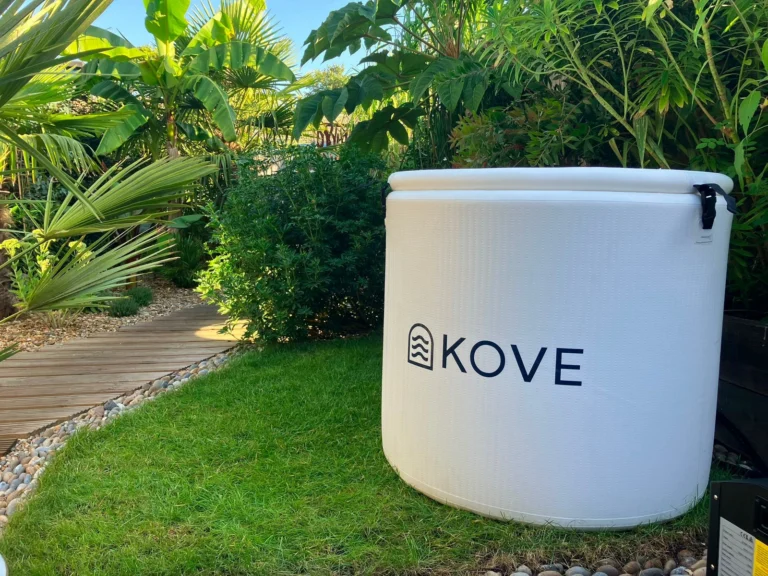
How Long Does an Ice Bath Take to Get Cold?
How long does an ice bath chiller take to cool water? Learn how chiller power, water volume, weather and starting temperature affect…
Best Ice Bath Chiller Australia (2026) | Cold Plunge Chillers Compared
Which ice bath chiller do you need for Australian conditions? Compare the KOVE Core 0.5HP, Pro 1HP and Elite 1.5HP chillers and…