
Indoor Infrared Sauna Installation & Setup Guide | KOVE
In this guide
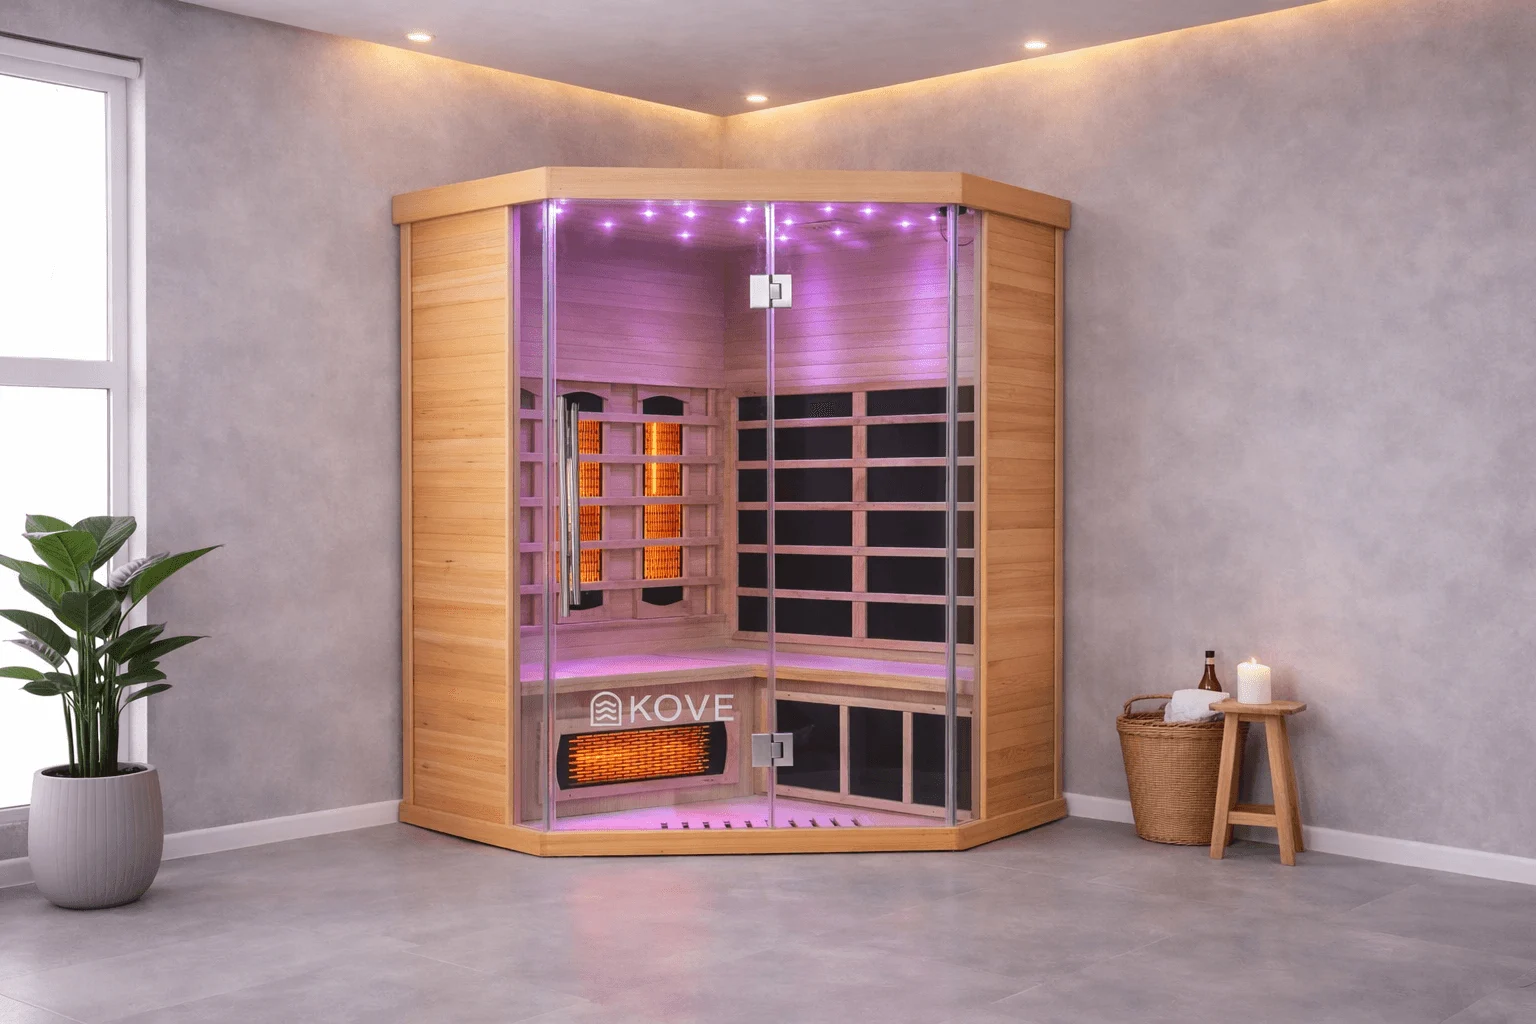
An indoor infrared sauna is one of the easiest ways to add heat therapy to an Australian home: no building work, no outdoor exposure and, for most models, no hardwiring.
An indoor infrared sauna is one of the simplest ways to add a consistent recovery routine to your home. With comfortable heat, quiet operation, and plug-in installation, infrared saunas are designed to fit into real living spaces — without major building work or specialist trades.
This guide explains how KOVE indoor infrared saunas are installed, what to expect during setup, and how they differ from traditional electric saunas.
Why Choose an Indoor Infrared Sauna?
Infrared saunas heat the body directly using radiant infrared panels rather than heating the air to extreme temperatures. Many users find this creates a more breathable, comfortable session that’s easier to use regularly.
- Lower operating temperatures
- Quiet, even heat
- Minimal warm-up time
- Designed for indoor, home-friendly use
Most importantly, indoor infrared saunas are designed to be simple to install and easy to live with.
Electrical Requirements (Simple & Plug-In)
KOVE indoor infrared saunas are designed to run from a standard Australian power point.
- Standard plug connection
- No hard-wiring required
- No specialist electrical installation
- No plumbing required
Once assembled, the sauna simply plugs in and is ready to use.
Installation & Setup
Indoor infrared saunas are supplied flat-packed and designed for straightforward home assembly. Panels are pre-wired and connect using fixed plug and slot systems.
Most customers complete assembly with two people in 2–4 hours, depending on the model size and room layout.
What Installation Involves
- Position the floor panel on a flat, indoor surface
- Attach wall panels using the integrated locking system
- Install benches and internal fittings
- Fit the glass door and front panel
- Connect pre-wired heater and control panel connectors
- Install the roof panel
All electrical connections inside the cabin are plug-and-play. No internal wiring or electrical knowledge is required.
Space & Room Requirements
Indoor infrared saunas are well suited to a wide range of spaces:
- Spare rooms
- Home gyms
- Utility rooms
- Converted garages or studios
We recommend allowing:
- At least 5–10 cm clearance around the sauna
- Standard ceiling height (models vary — check specifications)
- A dry, indoor environment
Comparison: Infrared vs Traditional Electric Saunas
| Feature | Infrared Sauna | Traditional Sauna |
|---|---|---|
| Electrical connection | Standard plug | Fixed wiring |
| Electrician required | No | Yes |
| Warm-up time | Short | Longer |
| Heat style | Radiant, direct | Hot air |
| Home flexibility | High | Lower |
This difference is why many customers choose infrared saunas for everyday home use — especially where simplicity, cost control, and flexibility matter.
Using Your Infrared Sauna
Once installed, most users build infrared sessions into their routine with minimal planning.
Typical sessions:
- 20–40 minutes per session
- 2–5 times per week
- Lower ambient temperatures than traditional saunas
Because the sauna is plug-in and quick to start, it’s easy to use consistently — which is where most of the perceived benefit comes from.
Frequently Asked Questions
Do I need an electrician?
No. KOVE indoor infrared saunas plug directly into a standard wall power point.
Can I use it straight away?
Yes. Once assembled and plugged in, the sauna is ready to use.
Can I move it later?
Yes. Because it’s not hard-wired, the sauna can be disassembled and relocated if needed.
Is infrared heat safe?
Infrared saunas operate at lower temperatures than traditional saunas. Always follow usage guidance and consult a professional if you have medical concerns.
Electrical Notes for Australia
Australian homes run on 230–240V, and standard power points are rated at 10A. Smaller cabins typically sit comfortably within a standard circuit, while larger cabins may need a 15A outlet or a dedicated circuit, so check the rated power of your model.
Avoid extension leads and power boards, and if you are unsure about your circuit, have a licensed electrician check it before installation.
Why KOVE?
KOVE designs professional-grade wellness equipment for real-world use.
We focus on:
- Reliable performance
- Durable materials
- Clear, honest specifications
- Australia-based support and spare parts
No inflated installation costs. No unnecessary complexity. Just equipment that fits into everyday life.
Wellness that works — consistently.
General wellness information only.
Planning your setup?
Our Australian team can help you choose the right equipment for your space, power supply and routine, and answer anything this guide didn't cover.
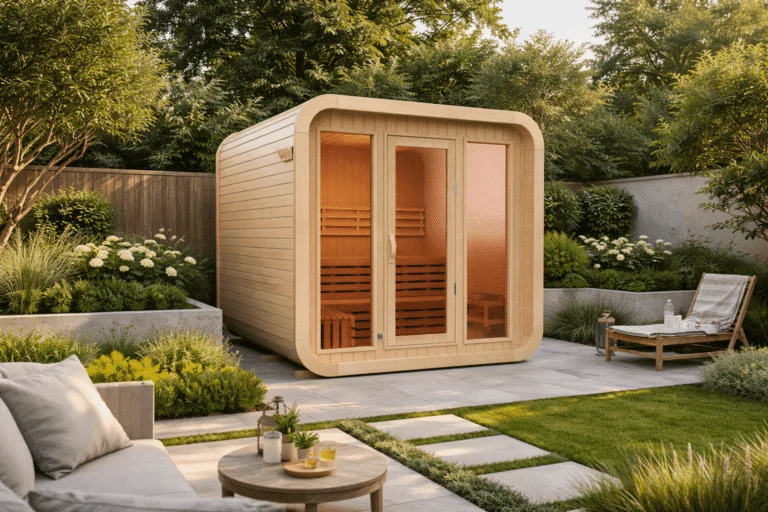
How to Build a Cube Sauna: Complete Installation Guide
A KOVE cube sauna is designed for straightforward assembly by a capable homeowner or local handyman, with a licensed electrician connecting the…
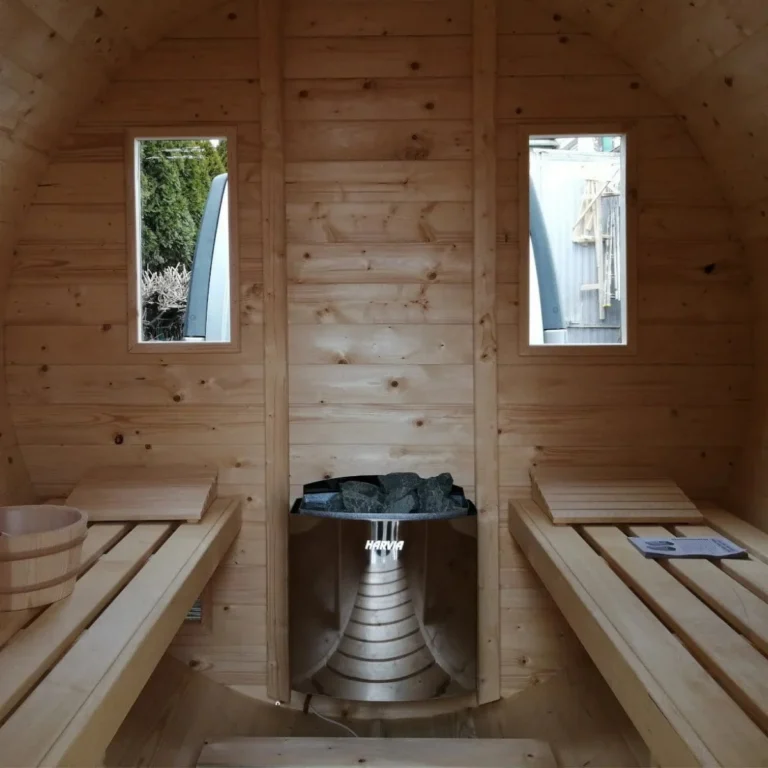
How Much Does a Sauna Cost to Run in Australia?
How much electricity does a home sauna use in Australia? Example running costs for infrared, barrel and cube saunas at Australian power…
Sauna Before Bed: Can Evening Heat Therapy Improve Sleep?
Long workdays, screens and warm summer nights don’t make sleep easy, which is part of why evening sauna sessions have become popular…