
How to Build a Cube Sauna: Complete Installation Guide
In this guide
- Before You Start
- Tools Required
- Step 1: Sauna Base Assembly
- Step 2: Front & Back Wall Assembly
- Step 3: Wall & Stave Installation
- Step 4: Bench & Interior Installation
- Step 5: Roof & Waterproofing
- Step 6: Accessories & Finishing
- Electrical Installation
- First Heat Cycle
- Common Installation Mistakes
- How Long Does Installation Take?
- Australian Requirements
- Short Version
A KOVE cube sauna is designed for straightforward assembly by a capable homeowner or local handyman, with a licensed electrician connecting the heater.
How to Build a Cube Sauna (Step-by-Step Installation Guide)
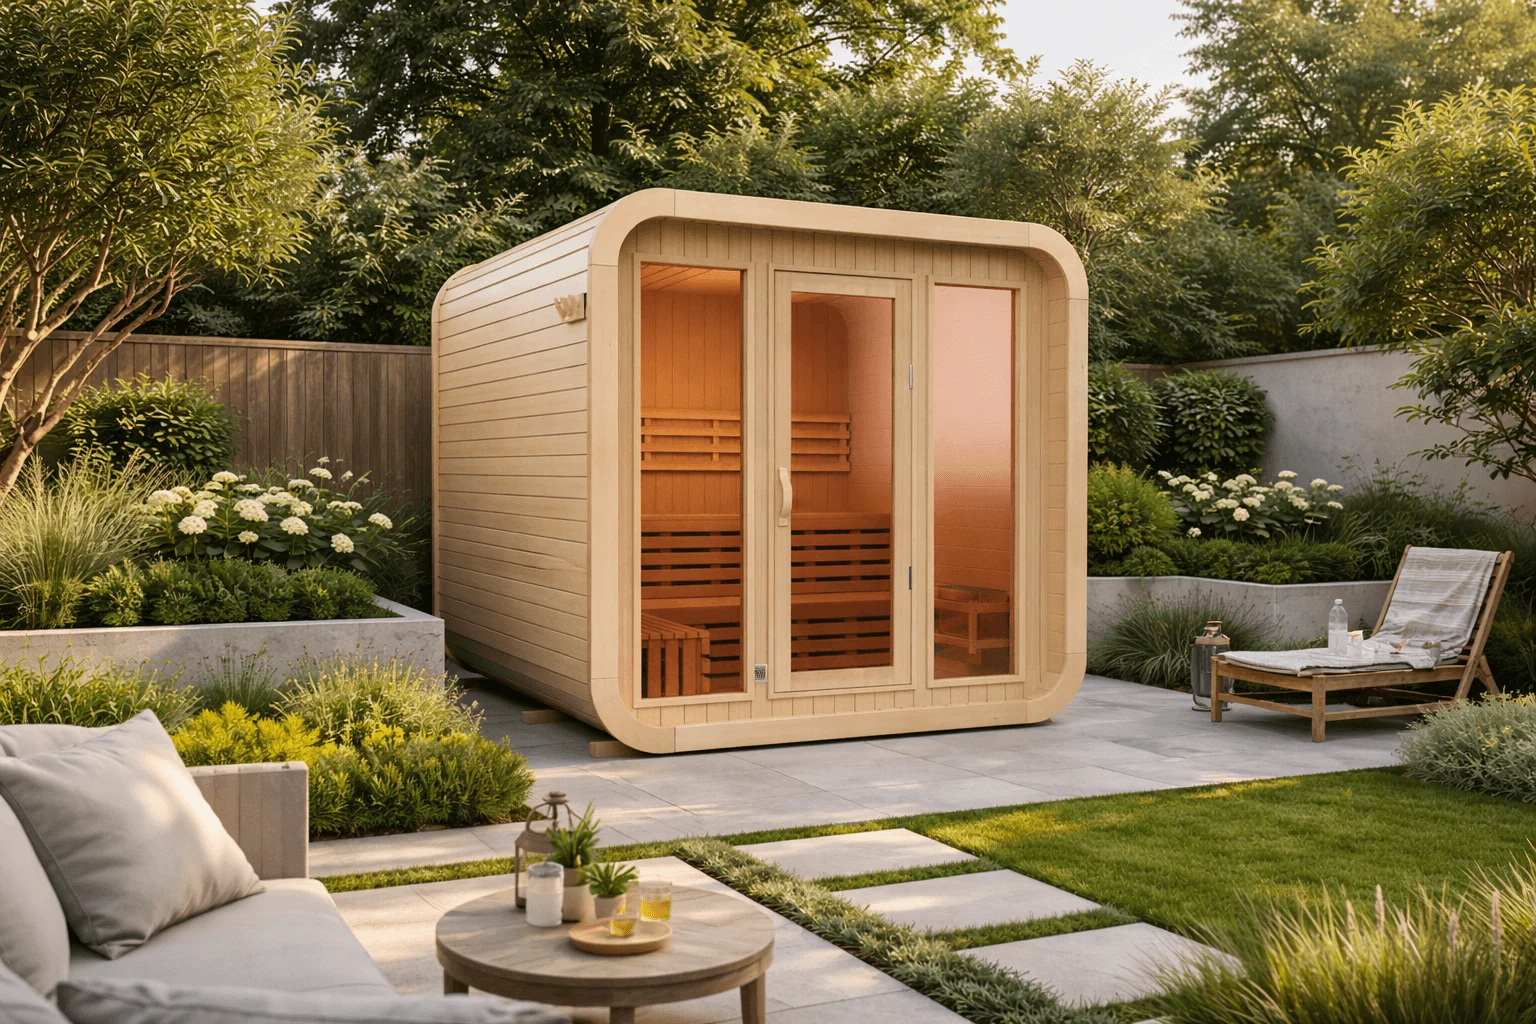
Cube saunas are one of the most straightforward outdoor sauna builds once the base is properly prepared. Unlike barrel saunas, they rely more on panel alignment and fixing rather than compression — which makes accuracy during setup even more important.
This guide walks through the full installation process, based on the official manual, with practical advice at each stage to make the build smoother and more reliable.
—
Before You Start
- Minimum 2 people required (3 recommended)
- Ensure your base is level and stable. Sauna base guide available here.
- Allow space around the sauna during assembly
- Plan electrical installation in advance (electric heater)
A very slight slope can be corrected, but anything more significant will need levelling before installation.
—
Tools Required
- Drill / driver
- Adjustable wrench
- Spirit level
- Rubber mallet
- Tape measure
- Ladder
—
Step 1: Sauna Base Assembly
The base is the foundation of the entire sauna. If this is not square and level, everything else becomes harder.
Process
- Position the base supports evenly
- Ensure spacing between supports is consistent
- Install central support strips
- Lay floor boards from the centre outward
- Align all grooves correctly
Boards should be laid from the centre to both sides and properly aligned into the slots.
Practical Advice
- Check level in multiple directions before continuing
- Do not force boards — if they don’t fit, alignment is off
- Take extra time here — it saves time later
—
Step 2: Front & Back Wall Assembly
The front and rear panels define the shape of the sauna and door alignment.
Process
- Assemble rear wall panels into one structure
- Ensure top and bottom are level
- Insert steel rods through side holes
- Position front frame and align
- Slot both panels into the base grooves
Keep all planks aligned horizontally during this stage.
Practical Advice
- Check vertical alignment (use a level)
- Do not fully tighten until everything is aligned
- Door alignment depends entirely on this stage
—
Step 3: Wall & Stave Installation
This stage builds up the main structure of the cube sauna.
Process
- Start placing staves from bottom to top
- Fix lower edge staves with screws
- Alternate sides to keep structure even
- Continue building upwards evenly
- Finish by closing the top section
Staves with pre-drilled holes should be positioned correctly first to avoid drilling later.
Practical Advice
- Build evenly on both sides — don’t complete one side first
- Use a rubber mallet gently — never force joints
- Fix every few boards to maintain structure
—
Step 4: Bench & Interior Installation
Once the main structure is complete, you can install the internal seating.
Process
- Install support brackets
- Fix using pre-drilled holes
- Place seat base boards
- Add riser boards
- Secure all components with screws
Place the seat board first, followed by the riser, then fixing to supports.
Practical Advice
- Don’t overtighten — allow wood to settle
- Check seating level before final fixing
- Ensure all screws are flush
—
Step 5: Roof & Waterproofing
This stage protects your sauna from weather — and is critical for longevity.
Process
- Spread waterproof tarp across roof
- Ensure it overhangs edges
- Fix decorative strips to hold tarp in place
- Install flashing from bottom to top
The tarp should extend beyond the edges and be secured using outer decorative strips.
Practical Advice
- Do not cut tarp flush — always leave overhang
- Ensure water runs away from structure
- Take your time — this prevents long-term issues
—
Step 6: Accessories & Finishing
Final stage — adding functional and safety elements.
Includes
- Heater guard installation
- Storage racks
- Clothes hooks
- Lighting components
All accessories use pre-drilled holes and are secured with screws.
—
Electrical Installation
Sauna heaters must be installed by a qualified electrician.
- Plan cable route before installation
- Do not attempt DIY wiring
- Install heater after structure is complete
—
First Heat Cycle
Before first use:
- Run sauna empty
- Expect natural wood smell
- Allow ventilation after first session
Typical operating temperature is 60–80°C depending on preference.
—
Common Installation Mistakes
- Base not level
- Walls not aligned early
- Overtightening too soon
- Poor waterproofing
- Skipping electrical planning
—
How Long Does Installation Take?
Typically 4–6 hours with two people. First-time builds may take longer.
—
Australian Requirements
In Australia, the sauna heater must be connected by a licensed electrician, who will usually run a dedicated circuit from your switchboard.
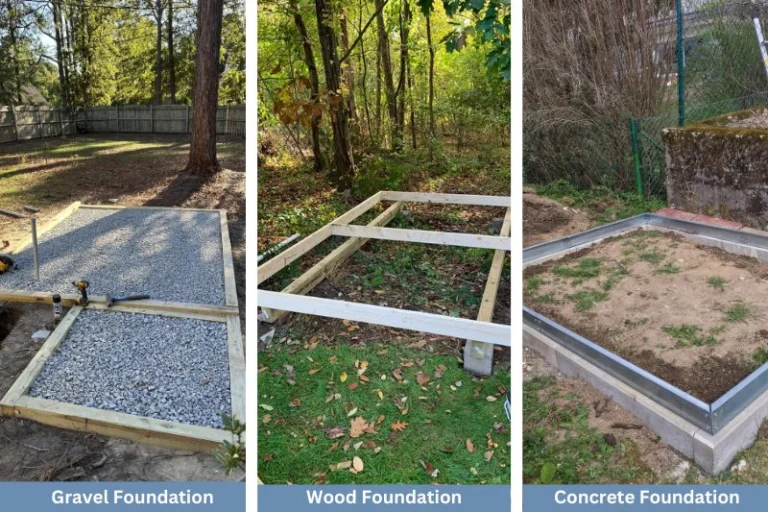
Check with your local council whether your sauna needs approval, and if your property is in a bushfire-prone area, ask about any requirements for outbuildings. Our sauna base guide covers preparing a level, well-drained foundation.
Short Version
Level base → align panels → build evenly → waterproof properly → install heater safely.
Take your time early, and the rest of the build becomes straightforward.
Planning your setup?
Our Australian team can help you choose the right equipment for your space, power supply and routine, and answer anything this guide didn't cover.
How Much Does a Sauna Cost to Run in Australia?
How much electricity does a home sauna use in Australia? Example running costs for infrared, barrel and cube saunas at Australian power…
Sauna Before Bed: Can Evening Heat Therapy Improve Sleep?
Long workdays, screens and warm summer nights don’t make sleep easy, which is part of why evening sauna sessions have become popular…
Sauna Base Guide: Concrete, Slabs, Gravel or Timber? | KOVE
In Australia, the right sauna base depends as much on your soil and rainfall as on the sauna itself, from reactive clay…